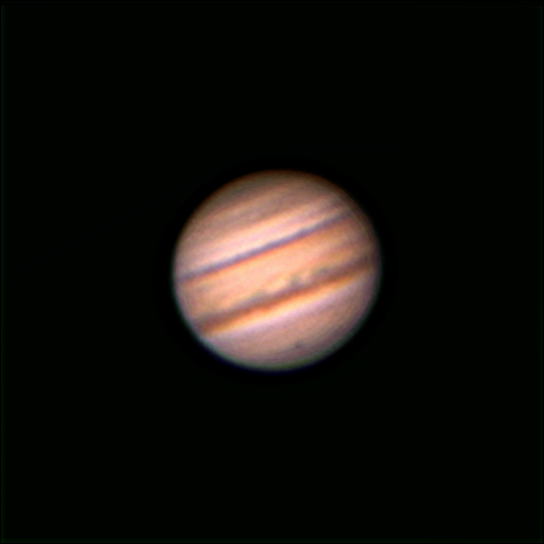
Jupiter Through a Webcam
On Amazon prime day I bought myself a $17 webcam and a $14 adapter to connect it to my telescope. To get these to play nicely together I had a friend 3D print me a small adapter that someone had designed for this very purpose. Modifying the webcam to work with my telescope took about an hour, but the initial results have been mind blowing.
By itself the webcam just barely won’t reach focus, so I need to use a 2x barlow lens, but it works out fine since the barlow was probably necessary anyway for planetary imaging.
Capturing video through my laptop required some new software, and there’s definitely a learning curve, but it’s not too difficult to get up and running. My first couple tries have paid off handsomely!
Another thing I noticed after processing the image is the small dot near the bottom of Jupiter. It turns out that is the moon Ganymede in front of the planet! It’s not the shadow cast onto the planet, but the moon itself!
I took video in Sharpcap, which was then aligned and cropped in PIPP. Stacking was done in Autostakkert, and wavelet sharpening was in registax. There is still some room for improvement with the processing, but I’m really happy with the first attempts!
The webcam doesn’t have the exact same controls as a normal camera, but they’re similar. Instead of ISO you have gain, and I believe shutter speed is roughly the same. I don’t actually know what exact settings this video was, I was going by eye on my computer screen.
If I’m able to get this much detail on Jupiter then I’m really excited to see what I can get on the space station!
